Creating orders in the mobile waiter app is easy. Let's walk through the process from start to finish.
To ensure that orders are printed on the correct printers, the bonprinter application must be running. This app handles printing based on the outlet settings configured in Vento. We will send you the application during the setup process.
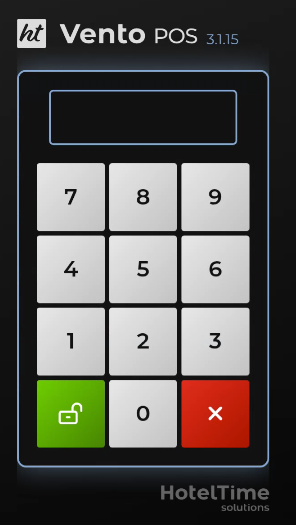
1. When the device is turned on, the Vento application starts automatically. Log in using the same credentials you use for logging into Vento POS.
2. If the device (or user) is assigned to multiple outlets, a selection menu will appear after login – choose the outlet you want to work in.

3. After selecting an outlet, the main table screen is displayed.
- tables marked in white indicate that there are currently open accounts on them
- if there is a number in parentheses next to the table number (e.g., 4 (2)), it means there are multiple open tabs on that table.

Tips: In Vento terminal settings, you can set an obligation for the waiters to name the table account when creating it. Just check the setting Require new account name when creating:Also, in the same place, you can set Vento to always offer the option of creating another account on the same table by checking option Always offer a new table account:
4. Click on the table where you want to create an order. In the table detail, the default services screen will appear. Here, additional screens may be configured depending on the operational settings of the given outlet:

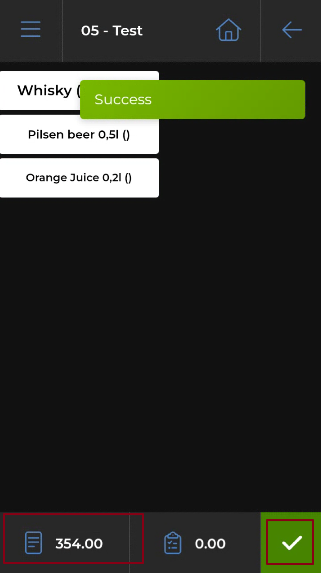
5. To add items to the order, simply click on the selected recipe. The Current Orders section at the bottom of the screen will update immediately.

6. To view the order details and make any changes, simply click on the order field.

Here, you have several options, similar to the Vento POS application. You can change the order of items, adjust their quantities, add a note to the order, use a separator, or remove items from the order.
7. To create the order, simply click the green button in the bottom-right corner of the screen. A confirmation message will appear indicating that the order was successfully sent, and the bottom bar will update immediately. The Current Order window will then be empty.